6 Ingredient Filling
After I’ve scared you off about the time it takes, let me mention that blueberry pie filling is actually one of the quickest fruit pie fillings to prepare! There’s no peeling, pitting, hulling, or chopping the fruit. You do NOT need to re-cook the filling either (a step we tested but found useless). Just rinse and pat the berries dry and then mix with sugar, flour, cornstarch, cinnamon, lemon juice, & lemon zest:
Pie Filling Success Tips:
- Use Flavorful Ingredients: You don’t need to add much to this pie filling to achieve amazing flavor. The berries are already pretty sweet on their own, so we only need to add ⅔ cup sugar. The zest and juice of a fresh lemon + a hint of cinnamon both add a subtle zing that really amplifies the natural flavor of the blueberries.
- Use 2 Thickening Ingredients: In the previous version of this recipe, I used ¼ cup of cornstarch to thicken the juicy filling, but we were still getting reader comments that their pies were turning out too runny. Taking note from my blueberry crumble pie a reader favorite, I decided to use a mix of both cornstarch and flour. As long as you bake the pie long enough, the jammy filling sets up and thickens beautifully.
- Work the Ingredients Together: Between the flour, cornstarch, and sugar, there’s a lot of dry ingredients. To ensure there’s not too much dry powder, you may have to smash a few blueberries to help soak it all up
- .Below Left: Your filling won’t bake properly if it’s this dry and powdery. Below Right: Work the ingredients together until the dry ingredients are moistened
Assemble Your Pie
You can use your favorite pie dough recipe, but here’s why I encourage you to try mine. To make a perfect pie crust, I use a mix of shortening and butter because the two ingredients work together to make an unbeatable texture. Butter adds flavor and flakiness, while shortening’s high melting point keeps the crust tender and workable. The recipe yields 2 crusts—one for the bottom and one for the top—which is what you need for this pie. You don’t need to par-bake the crust because this pie bakes for so long.
A few topping notes:
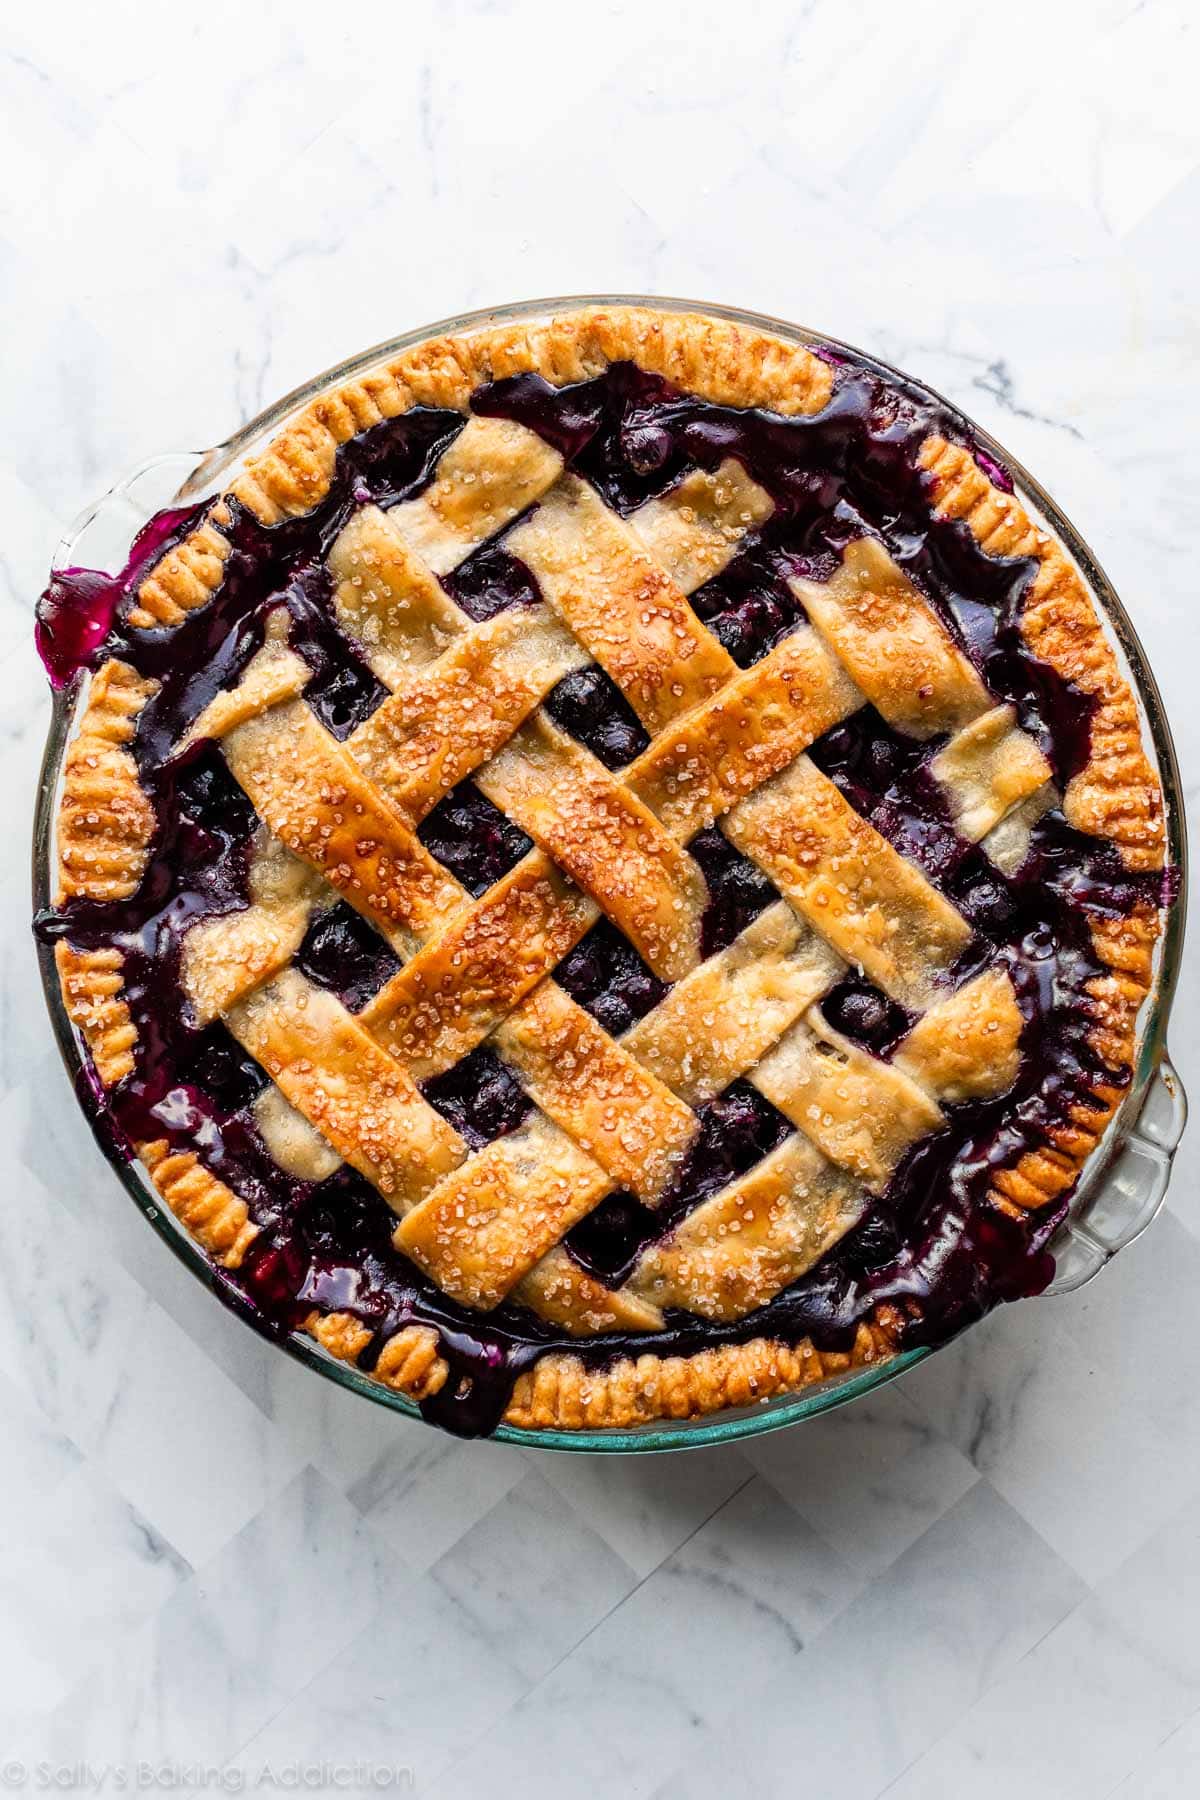
- Lattice: I like a signature lattice pie crust design for this blueberry pie (doesn’t it just scream “state fair blue ribbon winner“?!) but decorate the pie however you’d like. Here’s my detailed How to Lattice pie crust video & instructions.
- Other Designs: Feel free to check out other pie crust design.
- Crumble: Or you could try this blueberry crumble pie Note the slight variation in the filling to make up for a very buttery topping.
Regardless of the design, be sure to crimp or flit the pie crust, too. I simply crimped the edges with a fork in the photos here.
Don’t Forget…
- To dot butter on top of the filling. Like in this cherry pie crust recipe, a touch of butter adds richness and helps the filling ingredients bind together.
- To brush the top dough with egg wash. Egg wash promises a crispier crust and helps develop that signature golden sheen. Without it, dough is dull and lackluster. You use egg wash on many other bakes, like apple pie, croissant, Stromboli, breakfast pastries, and peach cobbler, to name a few.
Unlike the butter and egg wash, coarse sugar is an optional topping. I love adding it to sweet pies because it adds a little crunch and sparkle.
Many More Blueberry Pie Success Tips & Tricks
- Make the Pie crust Ahead of Time. It has to chill for at least 2 hours, but it keeps well in the refrigerator for up to 5 days and the freezer for up to 3 months, so make it in advance and it will save you time on the day you actually make this pie.
- Baking Sheet on Rack Below the Pie: This pie gets pretty messy when it’s happily bubbling away for over an hour. Place a baking sheet on the bottom oven rack to catch the bubbled-over juices. If you really want to save yourself cleanup time, line it with foil first.
- Start at an Initial High Temperature: 425°F (218°C) for 25 minutes, then the remainder at 375°F (190°C). The reason for the initial hot oven burst is to set the crust and encourage the cornstarch to begin working quicker.
- Pie Crust Shield: After the first 25 minutes in the oven, when you lower the temperature, I recommend placing a pie crust shield (see Notes) on the crust’s edges to prevent it from over-browning too quickly. You can purchase a pie crust shield, but I often use aluminum foil. See the next photo.
- Bake for a Long Time: Blueberry pie takes a lot longer than some pies (like pumpkin pie and pecan pie). You want the filling to be bubbling at the surface nearly everywhere, and this takes close to 75–80 minutes total. The internal temperature in the test pies (easy to take with an instant read thermometer because of the lattice top) was around 200°F (93°C) when done. If you think about it, in order for gravies and other sauces to begin thickening, they must be boiling/simmering. Same with this blueberry pie filling.
- Cool Completely: Slicing warm will give you a soupy slice of pie. Cool for at least 4 hours at room temperature because the pie filling continues to set up as it cools.
Comments
Post a Comment